Sourdough Sandwich Bread Recipe: Every kitchen has a story. Mine started with simple ingredients turning into a warm, fragrant loaf of sourdough sandwich bread. The first time I took a perfectly golden, crusty loaf out of the oven, I knew bread-making was more than cooking. It’s an art that connects us to generations of bakers.
Sourdough sandwich bread is not just another recipe. It’s a journey of flavor, texture, and craft. This homemade bread recipe combines soft texture with a complex, tangy taste. It’s something store-bought breads can’t match.
Whether you’re an experienced baker or just starting, making your own sourdough sandwich bread is a game-changer. With a few simple ingredients and patience, you’ll create a delicious, more digestible, and nutritious loaf. It’s a healthier choice than commercial breads.
Understanding Sourdough Sandwich Bread Recipe Basics
Sourdough bread is a fascinating culinary art. It turns simple ingredients into a complex, flavorful experience. The sourdough fermentation process is unique, enhancing both taste and nutritional value.

The Science Behind Sourdough Fermentation
Sourdough fermentation is a natural process that makes this bread special. Wild yeast and beneficial bacteria break down complex carbs and gluten. This makes the bread more digestible.
- Fermentation can extend up to 10 hours in cooler kitchens
- Wild yeast creates unique flavor profiles
- Bacterial activity increases nutritional availability
Benefits of Homemade Sourdough Bread
Sourdough bread is not just tasty. It also has many health benefits. This traditional method is a better choice for health-conscious bakers.
| Nutritional Benefit | Impact |
|---|---|
| Lower Glycemic Index | Slower blood sugar response |
| Increased Mineral Absorption | Better nutrient uptake |
| Improved Digestibility | Easier on sensitive stomachs |
Difference from Regular Sandwich Bread
Sourdough has a more complex flavor profile and better nutrition than regular sandwich bread. The long fermentation breaks down gluten, making it good for those with mild gluten sensitivities.
« Sourdough is not just bread, it’s a living culture of flavor and nutrition. » – Artisan Baker’s Wisdom
Understanding sourdough bread basics shows the craft behind each delicious slice. It also highlights the amazing benefits it offers.
Sourdough Sandwich Bread Recipe: Essential Equipment and Tools
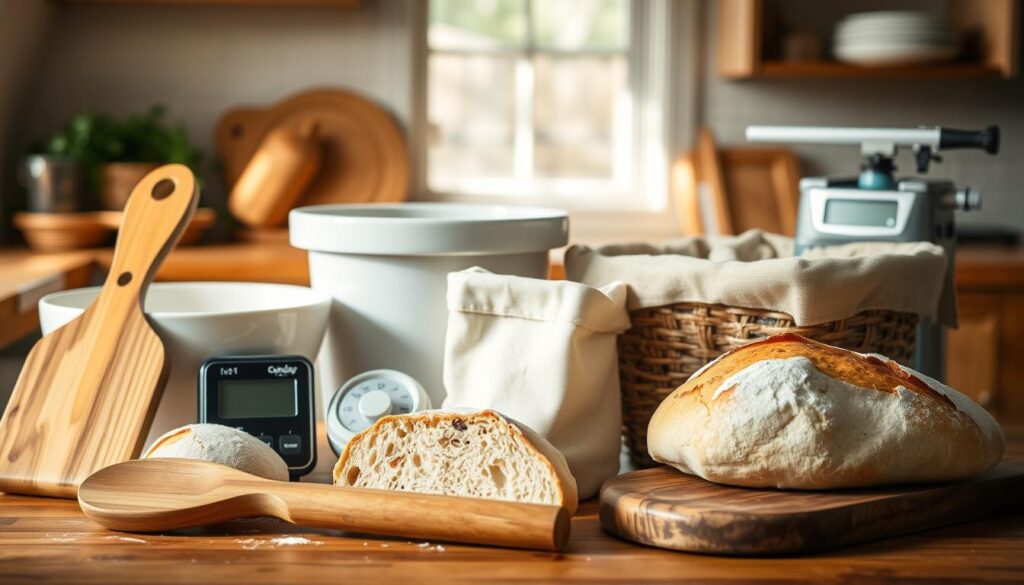
Making delicious sourdough sandwich bread needs the right tools. Your kitchen setup is key to success. Let’s look at the essential tools for perfect homemade sourdough bread.

- Large mixing bowl (glass or ceramic recommended)
- Digital kitchen scale for precise measurements
- Stand mixer or dough whisk
- 9×5 inch loaf pan
- Proofing basket or banneton
- Bench scraper
- Sharp bread knife
Professional bakers recommend a few specialized tools for better bread-making:
| Tool | Purpose | Recommended Type |
|---|---|---|
| Instant-read thermometer | Monitor dough and ambient temperatures | Digital probe thermometer |
| Proofing mat | Maintain consistent dough temperature | Silicone heating mat |
| Bread lame | Score bread before baking | Stainless steel razor blade handler |
« The right tools transform bread-making from a challenge to a joy. » – Artisan Baker’s Wisdom
Pro tip: You don’t need all the fancy equipment to make great bread. Many great loaves come from basic tools you might already have.
Key Ingredients for Perfect Sandwich Bread
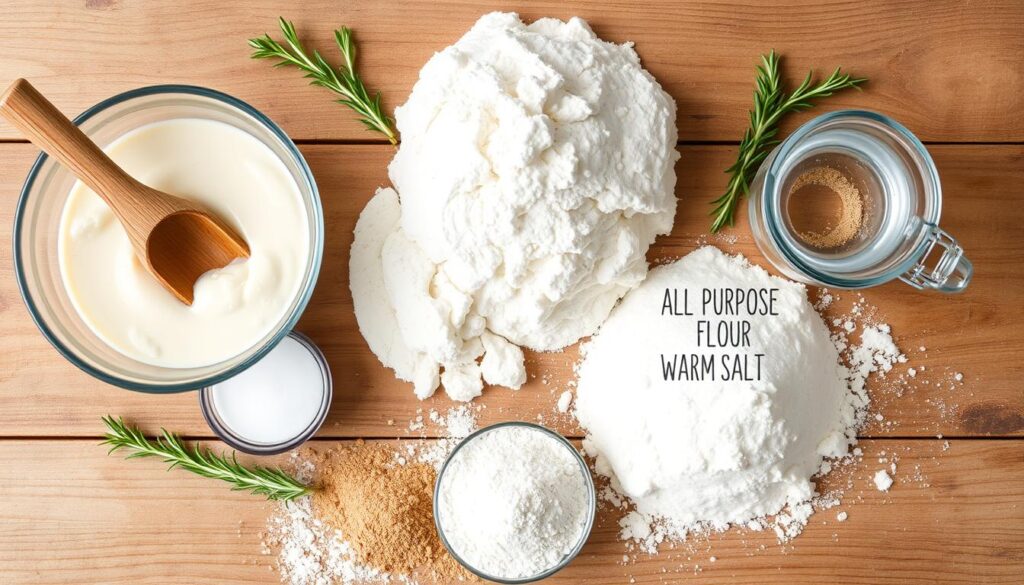
To make a great sourdough sandwich bread, you need the right ingredients. Each one plays a part in making the bread soft and tasty. Knowing how they work together will help you make perfect bread every time.
Active Sourdough Starter Requirements
Your sourdough starter is the bread’s heart. Keeping it healthy is key to baking success. The best feeding ratio is 1:3:3 by weight. This keeps your starter lively and active.
- Use 100 grams of active sourdough starter
- Maintain room temperature around 70°F
- Feed your starter consistently
Flour Types and Their Effects
Choosing the right flour is crucial for your bread’s texture and taste. Mixing all-purpose and whole wheat flour makes a perfect sandwich bread.
| Flour Type | Protein Content | Bread Characteristics |
|---|---|---|
| All-Purpose Flour | 10-12% | Soft, tender crumb |
| Whole Wheat Flour | 13-14% | Nutty flavor, denser texture |
Additional Ingredients for Softness
Adding certain ingredients can make your sourdough sandwich bread even softer and tastier.
- 2 tablespoons melted butter (about 28.35 grams)
- 20 grams brown sugar
- 10 grams sea salt
Pro tip: Room temperature ingredients blend more smoothly and create a more consistent dough texture.

By knowing these key ingredients and how they work together, you’ll be on your way to baking a delicious sourdough sandwich bread. It will be as good as any store-bought loaf.
Sourdough Sandwich Bread Recipe: Preparing Your Active Sourdough Starter
Creating an active sourdough starter is key to making tasty sourdough sandwich bread. It needs patience and regular care. This ensures a healthy, strong culture that makes your bread special.
- Keep a regular feeding schedule
- Watch how active your starter is
- Look for signs of peak fermentation
- Keep the temperature just right
Your starter is ready when it shows these signs:
- Doubles in volume in 4-8 hours after feeding
- Has a network of bubbles all through
- Smells tangy and slightly sour
- Looks light and bubbly at its best
« A healthy starter is the heart of great sourdough bread » – Professional Bakers’ Wisdom
For the best results, use your starter when it’s most active. This is usually 4-6 hours after feeding. It should be light, puffy, and have grown by 100-200%.
Temperature is very important for your starter. Keep it between 70-80°F for the best fermentation. A warm, draft-free spot in your kitchen is perfect for growing your starter.
Sourdough Sandwich Bread Recipe
Making the perfect sourdough sandwich bread needs care, patience, and the right kneading. This recipe will help you make tasty homemade bread. It will make your sandwiches even better.
Precise Ingredient Measurements
Here’s what you’ll need for your sourdough bread:
- 300 grams active sourdough starter
- 650 grams warm water
- 1000 grams white bread flour
- 50 grams honey
- 40 grams olive or avocado oil
- 20 grams fine sea salt
Mixing and Preparation Instructions
First, mix all your ingredients in a big bowl. Keep mixing until everything is well combined. The way you knead will affect the bread’s texture and shape.
Advanced Kneading Techniques
Kneading is key to making the bread soft and airy. Do 4 stretch and fold cycles, 20-30 minutes apart. This strengthens your dough.
« The art of kneading is about patience and understanding your dough’s texture. »
| Stage | Duration | Temperature |
|---|---|---|
| Bulk Fermentation | 3-4 hours | 74-76°F |
| Refrigeration | 10-12 hours | 40°F |
| Baking | 35-40 minutes | 400°F |
The windowpane test is crucial. Stretch a small dough piece. If it’s thin and clear without breaking, your kneading is on track.
Mastering the Fermentation Process
Bread fermentation is key to making tasty sourdough sandwich bread. It’s about understanding the sourdough bulk fermentation to get rich flavors and the right texture. This process changes your dough through complex chemical reactions.
The journey starts with creating the perfect environment for your sourdough starter. Important factors include:
- Room temperature
- Humidity levels
- Starter strength
- Ingredient quality
« Fermentation is where the magic happens in sourdough bread making » – Professional Bakers’ Wisdom
Your sourdough bulk fermentation takes 5-6 hours at room temperature. You’ll need to do 3-4 stretch and fold techniques. This helps develop gluten and adds to the flavor.
| Fermentation Stage | Duration | Temperature Range |
|---|---|---|
| Initial Bulk Fermentation | 4-6 hours | 70-75°F |
| Cold Proofing | 6-12 hours | 38-45°F |
| Total Fermentation Time | 14 hours | Varies |
Look for signs during fermentation. A good dough will look puffy, feel light, and grow a lot. You aim for a complex flavor and the right dough structure.
Shaping and Proofing Techniques
Learning how to shape bread is key to making the best sourdough sandwich bread. Shaping turns your dough into a stunning loaf. It will impress your eyes and taste buds.
Creating the Perfect Loaf Shape
Shaping sourdough needs precision and practice. There are two main ways to do it:
- Round Sourdough Boule
- Oval Batard Loaf
- Degas the dough gently to remove large air bubbles
- Pat the dough into a rectangular shape
- Fold the edges toward the center
- Roll the dough into a tight log
- Pinch the seams to seal
Signs of Proper Proofing Sourdough
Proofing sourdough needs careful watching. Here are the signs of a well-proofed dough:
| Proofing Indicator | What to Look For |
|---|---|
| Poke Test | Dough springs back slowly when gently pressed |
| Volume Increase | Dough rises to the rim of the pan |
| Surface Appearance | Smooth and slightly puffy with tiny bubbles |
Pro tip: Use rice flour when dusting your proofing basket to prevent sticking without burning in the oven.
Remember, proofing sourdough is an art that gets better with practice. The best proofing spot is cool, like the fridge. It helps flavor develop and keeps the crust from getting too thick.
Baking Methods and Temperature Control
Mastering sourdough bread baking needs precise temperature control. You must understand your oven’s unique traits. The bread oven temperature is crucial for a perfect golden crust and soft inside. Professional bakers focus on consistent heat for successful sourdough sandwich bread.
Before baking your sourdough sandwich bread, remember these temperature tips:
- Preheat your oven to 400°F (204°C)
- Create steam during the initial baking phase
- Reduce temperature to 375°F (190°C) after the first 20 minutes
- Aim for an internal bread temperature of 195°F (91°C)
« Temperature is the secret language of bread baking. » – Artisan Baker’s Wisdom
Different ovens work differently. Spend time learning about your oven. A reliable instant-read thermometer is key for accurate oven and bread temperatures.
| Baking Stage | Temperature | Duration |
|---|---|---|
| Initial Baking | 400°F (204°C) | 20 minutes |
| Final Baking | 375°F (190°C) | 15-20 minutes |
Pro tip: Use a pizza stone or cast-iron Dutch oven for even heat and a crisp crust.
Achieving the Perfect Crust and Crumb
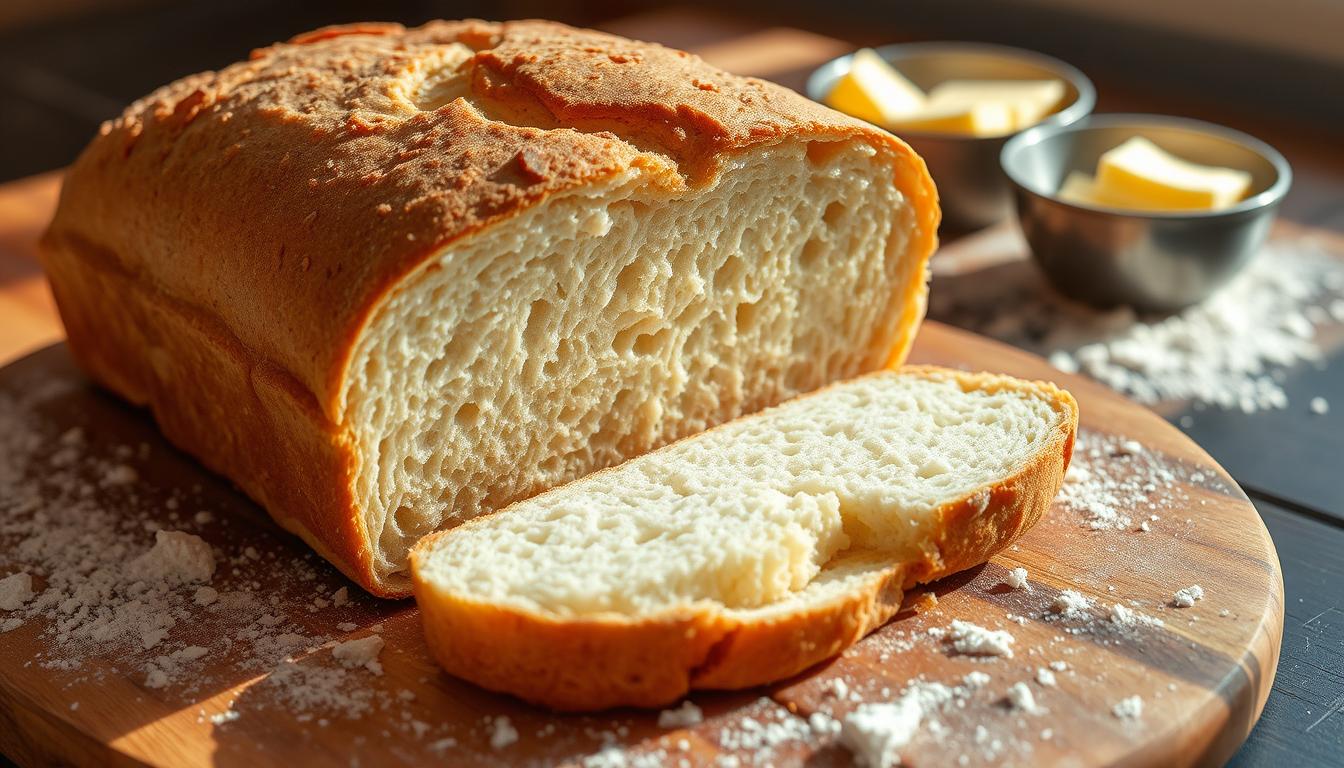
Making great sourdough sandwich bread is all about two key things: the crust and the crumb. Learning the right techniques can really improve your baking at home.
To make a perfect loaf, you need to focus on a few important things. These things affect how your bread tastes and feels. You must use precise methods and know how ingredients work together.
Mastering Bread Crust Development
To get a great crust, you need to try a few things:
- Steam the oven at the start to get a golden, crispy outside
- Preheat a baking stone or Dutch oven for even heat
- Brush with egg wash for better color and shine
- Bake at high temperatures (425-450°F) for the best crust
Creating a Soft, Even Crumb Texture
To get a soft crumb, you need to do a few things:
- Keep the right amount of water in your dough
- Use gentle kneading
- Do stretch and fold techniques regularly
- Control the temperature during fermentation
| Technique | Impact on Crumb |
|---|---|
| Hydration | More water makes the crumb softer and more open |
| Fermentation | Longer, slower fermentation makes the texture better |
| Flour Selection | Medium-protein flour keeps the crumb soft |
Remember, the key to making amazing sourdough sandwich bread is practice and patience. With these, you can achieve a perfect crust and a soft, tender crumb.
Sourdough Sandwich Bread Recipe: Storing and Maintaining Freshness
Keeping sourdough bread fresh is key to enjoying its taste and texture. Your homemade loaf can stay fresh for up to a week with the right storage. It’s all about keeping it fresh and preventing it from getting stale.
There are different ways to store bread, depending on when you want to eat it:
- Room temperature storage for short-term preservation
- Freezing for extended freshness
- Reviving day-old bread
For storing on the counter, follow these tips:
- Store in a bread box or micro-perforated plastic bag
- Keep bread cut-side down on a cutting board
- Avoid refrigeration, which accelerates staling
« The secret to maintaining sourdough bread’s quality is strategic storage. » – Artisan Bread Experts
Freezing is great for longer storage. Slice the bread before freezing, using parchment paper between slices. To refresh frozen slices, toast them or warm them in a 350°F oven for 15 minutes.
Pro tip: Sprinkle water on the loaf before reheating to restore moisture and bring back that fresh-baked feel.
Soft sourdough sandwich bread stays fresh for up to a week in an airtight bag at room temperature. Its natural acidity helps prevent mold, so you can enjoy it longer.
Sourdough Sandwich Bread Recipe: Troubleshooting Common Issues
Bread troubleshooting can be tough, but knowing common problems helps. Every baker faces challenges. Knowing how to fix them makes a big difference in getting a tasty loaf.
Fixing Dense or Gummy Bread
Dense bread comes from a few main issues. The texture of your bread depends on several factors. These factors affect how well it rises and feels.
- Insufficient starter activity: Make sure your starter is fully active before baking
- Incorrect hydration levels: Keep 75-80% hydration for the best texture
- Inadequate kneading: Get gluten right with 10-15 minutes of kneading
- Premature baking: Give it enough time to rise and proof
« A well-developed sourdough requires patience and precision » – Professional Baker’s Insight
Addressing Rising Problems
Rising issues can be a big problem for bakers. To fix dense bread, you need to understand your dough’s environment and how it ferments.
- Check starter health: Make sure it doubles in 6-8 hours after feeding
- Monitor fermentation temperature: Keep it at 75-80°F (24-27°C)
- Verify flour quality: Use flour with 12-14% protein content
- Confirm proofing conditions: Give it enough time and warmth
Bread troubleshooting is about knowing your baking environment. Each loaf teaches you something new about sourdough’s magic.
Conclusion
Making homemade sourdough bread is more than just baking. It’s an art that connects you to old bread-making ways. The benefits of homemade sourdough bread go beyond its tasty flavor. It offers a nutritious and fulfilling cooking experience that turns simple ingredients into a special loaf.
Your sourdough sandwich bread making journey teaches you about fermentation, hydration, and temperature control. With practice, your bread will go from simple to amazing. You’ll learn to manage a 90% hydration level and do five stretch and fold sets during bulk fermentation.
Every loaf you make is a personal win. Whether you use Grist & Toll Star White Whole Wheat or try different flour mixes, your bread shows your skill and hard work. Remember, making bread takes about 14-15 hours from start to finish. But the end result is a healthy, tasty sandwich bread that beats any store-bought one.
Start your sourdough adventure with patience and curiosity. Your skills will grow with each loaf you bake. Soon, you’ll make delicious loaves that show off the great benefits of homemade sourdough bread. Begin your journey, trust the process, and enjoy the tasty outcomes.
For more delecious recipe:
Bread Sauce: A Classic Recipe for the Perfect Creamy Side Dish : « Sourdough Sandwich Bread Recipe: Soft, Tangy, and Perfectly Sliced »
