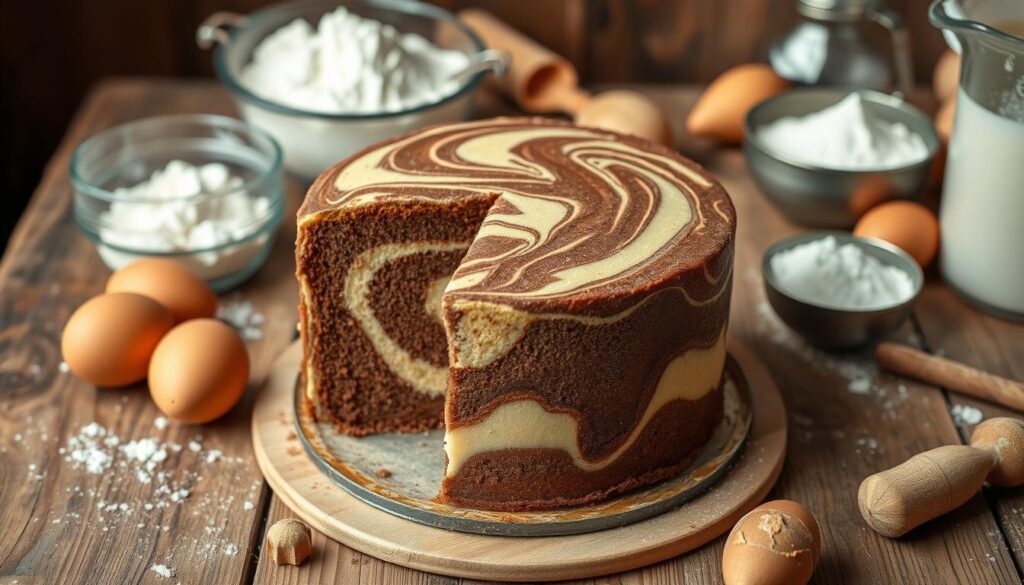
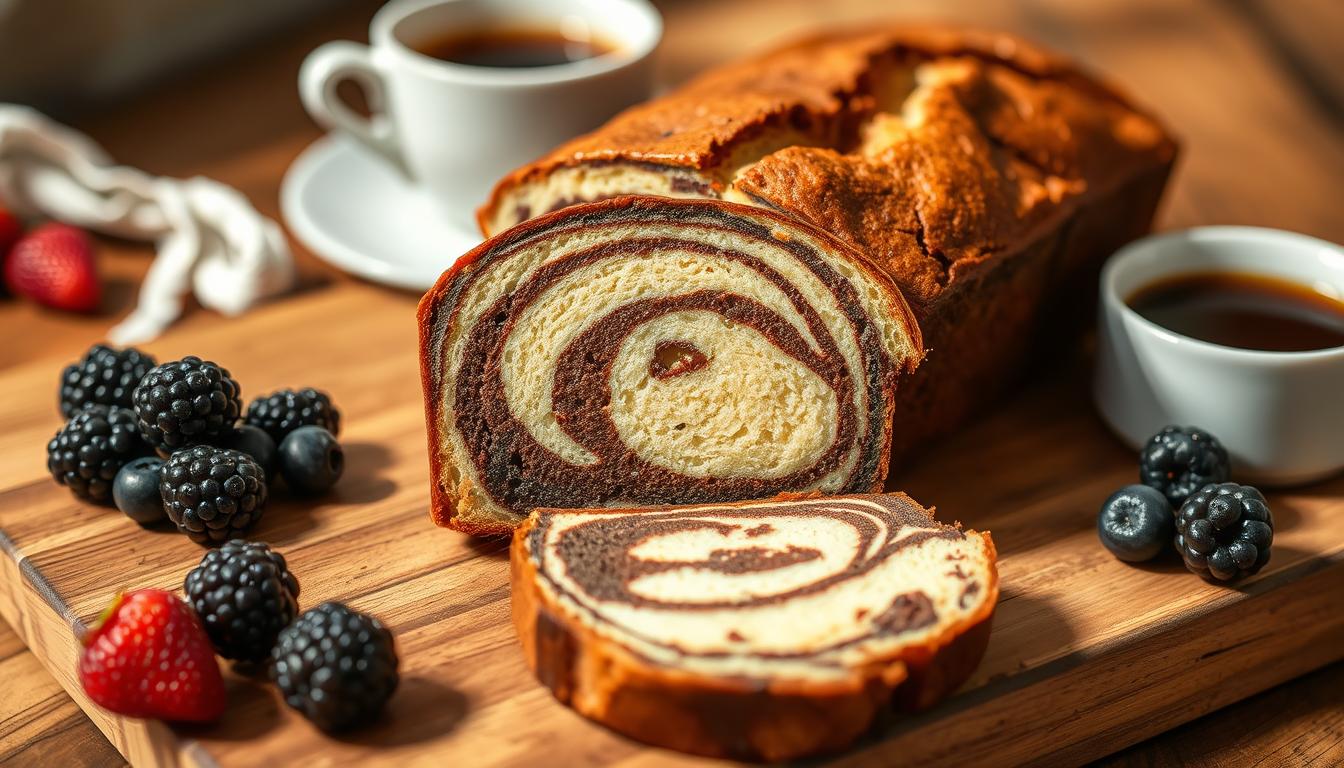
There’s magic in cutting into a marble pound cake. The knife reveals chocolate and vanilla swirls, taking you back to childhood. This classic dessert is more than a cake; it’s a journey of flavors that brings comfort and joy.
The marble pound cake recipe is an art form. It combines two beloved flavors into one stunning creation. Whether you’re an experienced baker or just starting, this recipe will impress everyone.
Imagine showing off a perfectly swirled marble pound cake at your next gathering. The anticipation and gasps when you slice into it are unforgettable. This cake is more than just a treat; it’s a conversation starter and a memory maker.
Key Takeaways
- A classic dessert that combines chocolate and vanilla flavors
- Perfect for bakers of intermediate skill level
- Creates a stunning visual and taste experience
- Versatile recipe adaptable for various occasions
- Requires careful technique for perfect marbling
- Can be stored at room temperature for up to 3 days
The History and Origins of Marble Cake
Marble cake has a rich history that spans continents and generations. It started in Germany, where the Marmorkuchen won the hearts of many.

German Culinary Roots
In the 19th century, German bakers created a special technique. They swirled different batters together. Marmorkuchen was made with light batter mixed with darker, often spiced or coffee-flavored batter.
- Molasses
- Spices
- Dried fruits like raisins
- Strong coffee
Journey to America
In the 1800s, German immigrants brought marble cake to North America. The first American mention was in an Illinois newspaper in 1859.
« The marble cake represents a delightful cultural exchange, blending German baking traditions with American innovation. » – Culinary Historian
Culinary Evolution
By 1889, Jewish cookbooks included chocolate recipes. This changed the American marble cake, adding a chocolate and vanilla swirl.
| Year | Culinary Milestone |
|---|---|
| 1859 | First marble cake mention in Illinois |
| 1800s | German immigrants introduce Marmorkuchen |
| 1889 | Chocolate variation emerges in recipes |
Today, marbling techniques have changed, but the beauty of swirled cakes remains. It shows the creativity of both home bakers and professional chefs.
Essential Ingredients for Perfect Marble Pound Cake

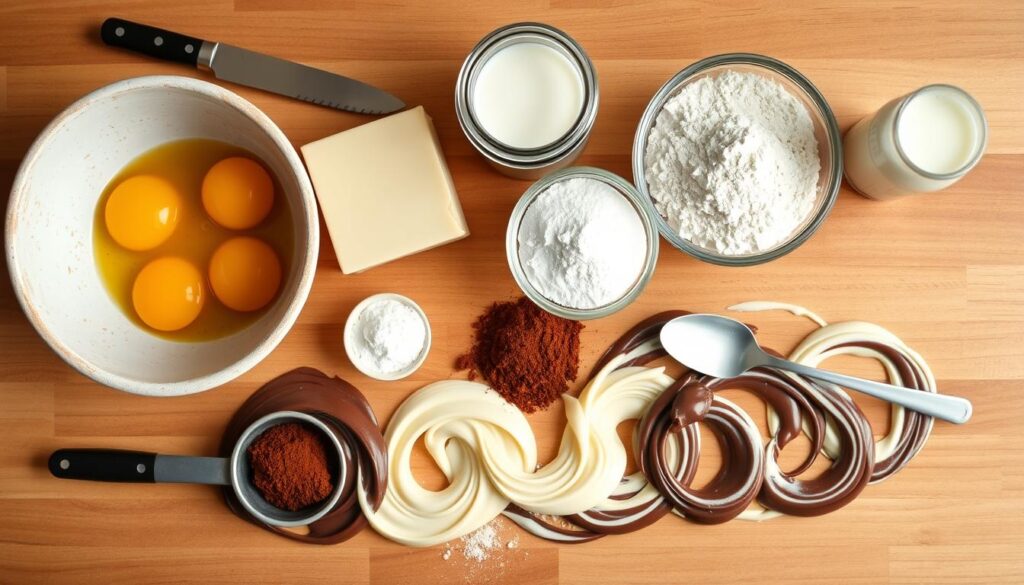
To make the perfect marble pound cake, start with top-notch ingredients. Your baking essentials are key to a dessert that wows everyone.
Now, let’s look at the main ingredients that make this cake special:
- Butter: Choose unsalted, high-quality butter for a rich taste and smooth texture
- Flour: Cake flour makes the cake tender and delicate
- Leavening agents: Baking powder helps it rise right
- Sugar: Granulated white sugar adds sweetness
- Eggs: Large, room-temperature eggs help mix everything together
« The secret to an exceptional marble pound cake lies in the quality of your ingredients. »
For the chocolate swirl, Dutch-process cocoa powder is essential. It gives a deep, rich chocolate taste that sets your cake apart.
| Ingredient | Quantity | Purpose |
|---|---|---|
| Unsalted Butter | ¾ cup | Provides richness and moisture |
| Cake Flour | 2 cups | Creates tender crumb |
| Dutch-process Cocoa | 2 teaspoons | Adds chocolate swirl |
Pro tip: Always use room temperature ingredients. This ensures smooth mixing and a consistent texture in your marble pound cake.
Kitchen Tools and Equipment Needed
To make a tasty marble pound cake, you need the right tools and equipment. The right kitchen gear can greatly improve your baking. It also affects how your cake turns out.
Baking Pans and Sizes
Choosing the right cake pan is key for your marble pound cake. Here are some top picks:
- 9×5 inch loaf pan – perfect for a traditional pound cake shape
- 8×4 inch loaf pan – makes a taller, more compact cake
- Bundt pan – gives an elegant look with its decorative design
Mixing Equipment
Good mixing tools are vital for a smooth marble pound cake batter. Here are some tools to consider:
| Equipment | Recommended Type | Price Range |
|---|---|---|
| Stand Mixer | KitchenAid Professional | $700 |
| Hand Mixer | Breville Hand Mixer | $130 |
| Whisk | OXO Balloon Whisk | $12 |
Additional Essential Tools
Here are more tools to help with your baking:
- Silicone spatula
- Digital kitchen scale
- Cooling rack
- Cake tester
- Measuring cups and spoons
« The right tools transform good baking into great baking. » – Professional Baker’s Wisdom
Quality baking tools are worth the investment. They help make a marble pound cake that’s not just tasty but also looks amazing.
Understanding Room Temperature Ingredients
Room temperature baking is key to making your marble pound cake stand out. When butter, eggs, and dairy are at room temperature, they mix better. This results in a lighter, more even texture.
It’s not just about taking ingredients out of the fridge. The best temperature for baking is between 65-70°F (18-21°C). This temperature helps ingredients blend perfectly.
« Cold ingredients can sabotage your baking, while room temperature ingredients are the secret to a perfect pound cake. »
Quick Room Temperature Tips
- Remove butter and eggs from refrigerator 30-45 minutes before baking
- Cut butter into smaller cubes to speed up warming process
- Place eggs in warm (not hot) water for 5-10 minutes
- Use a microwave carefully for softening butter
For your marble pound cake, using room temperature ingredients is crucial. It ensures:
| Ingredient | Room Temp Benefit |
|---|---|
| Butter | Better air incorporation, smoother creaming |
| Eggs | Even distribution, improved emulsification |
| Sour Cream | Consistent texture, enhanced moisture |
Pro tip: Never use melted butter when room temperature butter is required, as this will dramatically change your cake’s structure and texture.
Step-by-Step Mixing Method
Learning how to mix a cake is key to making a perfect marble pound cake. The creaming method is the base for a light, tender cake. It will surely impress any baker.
Creaming the Butter and Sugar
Start by picking top-notch ingredients. Use 227 g of unsalted butter at room temperature and 500 g of granulated sugar. The creaming method needs careful technique:
- Use a stand mixer or hand mixer
- Beat butter and sugar for 5-7 minutes
- Mixture should become light and fluffy
- Scrape down sides of the bowl periodically
Adding Wet Ingredients
Your wet ingredients are vital for the cake’s texture. Add them carefully:
- 6 large eggs (add one at a time)
- 1 tbsp pure vanilla extract
- 1 tbsp neutral oil (avocado recommended)
- 250 g whole milk
Incorporating Dry Ingredients
The last mixing step is crucial. Mix 352 g all-purpose flour with:
| Ingredient | Quantity |
|---|---|
| Kosher Salt | 1 tsp |
| Baking Soda | 0.5 tsp |
| Natural Cocoa Powder | 21 g (0.25 cups) |
Alternate adding dry ingredients and milk to avoid overmixing. Pro tip: Gently fold to keep the cake’s delicate structure. This ensures a beautiful marble effect.
Creating the Perfect Chocolate Swirl
Mastering the chocolate swirl is key to a stunning marble pound cake. Your chocolate cake batter will turn the dessert into a masterpiece. The secret is a rich, smooth cocoa mixture that blends well with vanilla.
Start with high-quality unsweetened cocoa powder. Blooming it with hot water enhances its flavor. Here’s how to make your chocolate component:
- Mix ⅓ cup unsweetened cocoa powder with ⅓ cup boiling water
- Whisk until the mixture becomes smooth and glossy
- Allow the cocoa mixture to cool to room temperature
- Separate about one-third of your vanilla cake batter
- Gently fold the cooled cocoa mixture into the separated batter
The secret to a perfect marble effect is gentle incorporation. Don’t overmix the chocolate batter. It can ruin the swirled pattern. Each fold brings you closer to a visual masterpiece.
« Baking is love made visible. » – Unknown
Professional bakers use a skewer or butter knife for elegant swirls. Move the utensil in figure-eight patterns or gentle zigzags. This creates intricate marbling that surprises and delights when you slice into the cake.
Marble Pound Cake Swirling Techniques
Creating beautiful swirl patterns in your marble pound cake needs precision and creativity. Cake marbling techniques can turn an ordinary dessert into a stunning visual masterpiece. It delights both the eyes and taste buds.
Mastering cake marbling means knowing different swirl patterns. These can improve your baking skills. Let’s look at three unique methods to get stunning visual effects in your marble pound cake.
Checkerboard Pattern Method
The checkerboard technique makes a sophisticated marble effect with careful batter placement. Here’s how to do it:
- Prepare vanilla and chocolate batters separately
- Spoon alternating dollops in the pan’s bottom
- Create a grid-like pattern with contrasting batters
- Use a knife to gently swirl the batters
Figure-8 Swirling Technique
The figure-8 method gives a more dynamic swirl pattern. It offers elegant movement throughout your cake:
- Pour vanilla and chocolate batters side by side
- Draw a figure-8 pattern using a skewer
- Avoid over-mixing to keep distinct color zones
- Limit swirling to 2-3 passes for clean definition
Layering Approach
The layering technique lets you have more pronounced flavor and color separation:
- Alternate layers of vanilla and chocolate batter
- Use a spatula to create gentle swirls between layers
- Maintain a roughly 2:1 ratio of chocolate to vanilla batter
« The secret to perfect cake marbling is a gentle touch and artistic vision. » – Pastry Chef Recommendation
| Technique | Difficulty Level | Visual Impact |
|---|---|---|
| Checkerboard | Intermediate | High Geometric Pattern |
| Figure-8 | Advanced | Dynamic Swirl |
| Layering | Beginner | Subtle Color Blend |
Pro tip: Always use room temperature ingredients and work quickly to achieve the best cake marbling techniques and swirl patterns.
Baking Time and Temperature Guidelines
Getting the cake baking temperature right is key for a perfect marble pound cake. Your oven’s settings are crucial. For the best results, bake at 350°F (175°C). This ensures even heat and browning.
The baking time is usually 50 to 60 minutes. It depends on your oven and pan. Here are some important tips:
- Preheat your oven completely before inserting the cake
- Use an oven thermometer to verify actual temperature
- Position the rack in the center of the oven
- Check for doneness using the cake tester method
« Precision in baking temperature is the secret to a perfectly textured cake. » – Professional Pastry Chef
A tea loaf pan is often the best choice for home bakers. Here are some guidelines:
| Specification | Details |
|---|---|
| Preheat Temperature | 350°F |
| Baking Time | 60-65 minutes |
| Foil Tenting | After 50 minutes of baking |
Professional bakers suggest keeping an eye on your cake in the last 10 minutes. Look for a golden-brown top and edges that start to pull away. Remember, the cake will continue to cook a bit after it’s out of the oven. So, it’s better to slightly underbake than overbake.
Cooling and Storage Instructions
Mastering the cake cooling process is key to keeping your marble pound cake’s texture and flavor perfect. After baking, patience is your secret to a great slice.
First, let your cake rest in the pan for 15-20 minutes. This short wait helps the cake set and become stable. It prevents it from falling apart when you take it out of the pan.
« Cooling is not just waiting, it’s part of the baking magic! » – Pastry Chef Wisdom
Storing Pound Cake: Best Practices
- Allow cake to cool completely on a wire rack
- Use an airtight container for storage
- Keep at room temperature for optimal texture
- Consume within 4-5 days for peak freshness
Storing pound cake at room temperature is best. An airtight container keeps it moist and fresh. Your cake will stay delicious for up to 5 days if sealed properly.
Refrigeration and Freezing Tips
| Storage Method | Duration | Serving Recommendation |
|---|---|---|
| Room Temperature | 4-5 days | Serve directly |
| Refrigerated | Up to 1 week | Let sit 20-30 minutes before serving |
| Freezer | Up to 8 weeks | Thaw at room temperature |
Pro tip: Slice your pound cake only when ready to serve to maintain maximum moisture and prevent unnecessary drying.
For freezing, wrap the cake tightly in plastic wrap and then in aluminum foil. This double-layer protection keeps the cake fresh and prevents freezer burn.
Troubleshooting Common Issues
Baking the perfect marble pound cake can be tough. Knowing how to fix common problems will help you make a tasty dessert every time.
Texture Challenges and Solutions
Texture issues are common in marble pound cake baking. Here are some problems and how to fix them:
- Dry Cake: Caused by too much flour or baking too long
- Dense Texture: Happens when the batter isn’t mixed well or if ingredients are cold
- Tough Crumb: Often caused by mixing the batter too much
Marbling Technique Fixes
Getting the perfect marble effect needs care. Common mistakes include:
- Swirling too much, which messes up the colors
- Batter not spread evenly
- Cocoa not mixed right
| Baking Problem | Potential Cause | Solution |
|---|---|---|
| Uneven Marbling | Batters not the same consistency | Make sure batters are similar |
| Dry Edges | Wrong oven temperature | Use an oven thermometer, bake at 350°F |
| Sinking Center | Ingredients not mixed enough | Mix well but don’t overdo it |
Baking Challenges
Many baking problems can be solved by focusing on a few key things:
- Use room temperature ingredients
- Measure flour gently with a light spoon
- Check cake with a wooden pick
- Cool cake for exactly 10 minutes before taking it out of the pan
« Precision is the key to perfect baking » – Professional Baker’s Wisdom
By learning these troubleshooting tips, you’ll be ready to tackle any baking problems when making your marble pound cake.
Conclusion
Making a perfect marble pound cake is an art. It combines technique, passion, and precision. Your success in baking depends on mastering each step, from picking the right ingredients to perfecting the swirl.
This journey is more than just following a recipe. It’s about growing your skills and confidence in the kitchen.
The marble pound cake is perfect for any occasion. With 80% of people loving custom colors, your cake can be the star at any event. From weddings to casual get-togethers, it’s a hit.
The secret to its moist texture lies in the cold oven method and choosing the right ingredients. These details make your cake truly special.
Practice is key to getting better. Each time you bake, you’ll improve your skills and understand how ingredients work together. Feel free to try new swirling patterns or flavors.
Whether you stick to classic chocolate and vanilla or try something new, your creativity will show in every bite. Your marble pound cake will be a masterpiece.
We encourage you to share your baking stories, tips, and photos. Your unique take on this beloved dessert adds to a vibrant community of home bakers. Together, we keep pushing the limits of culinary creativity.

