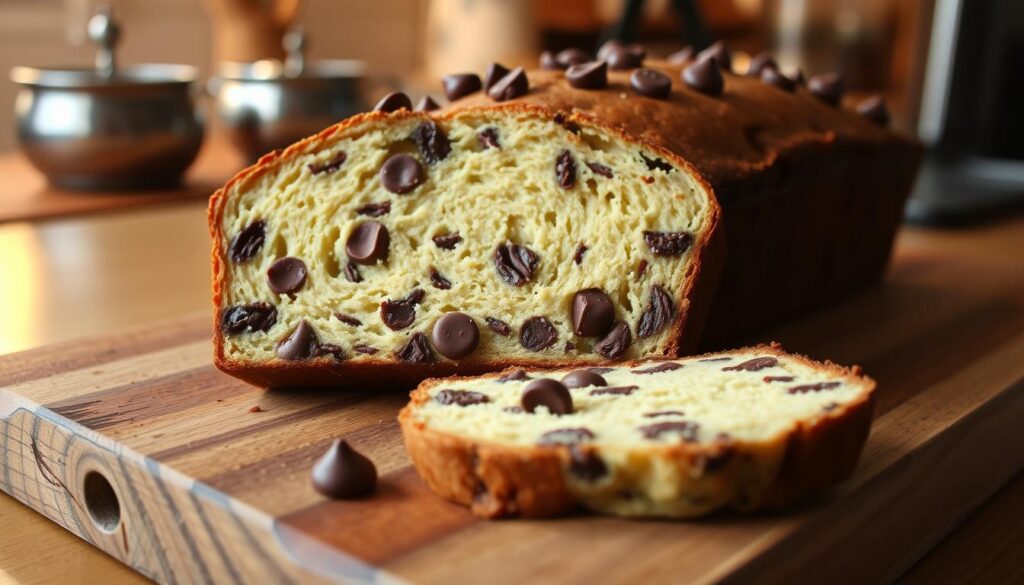
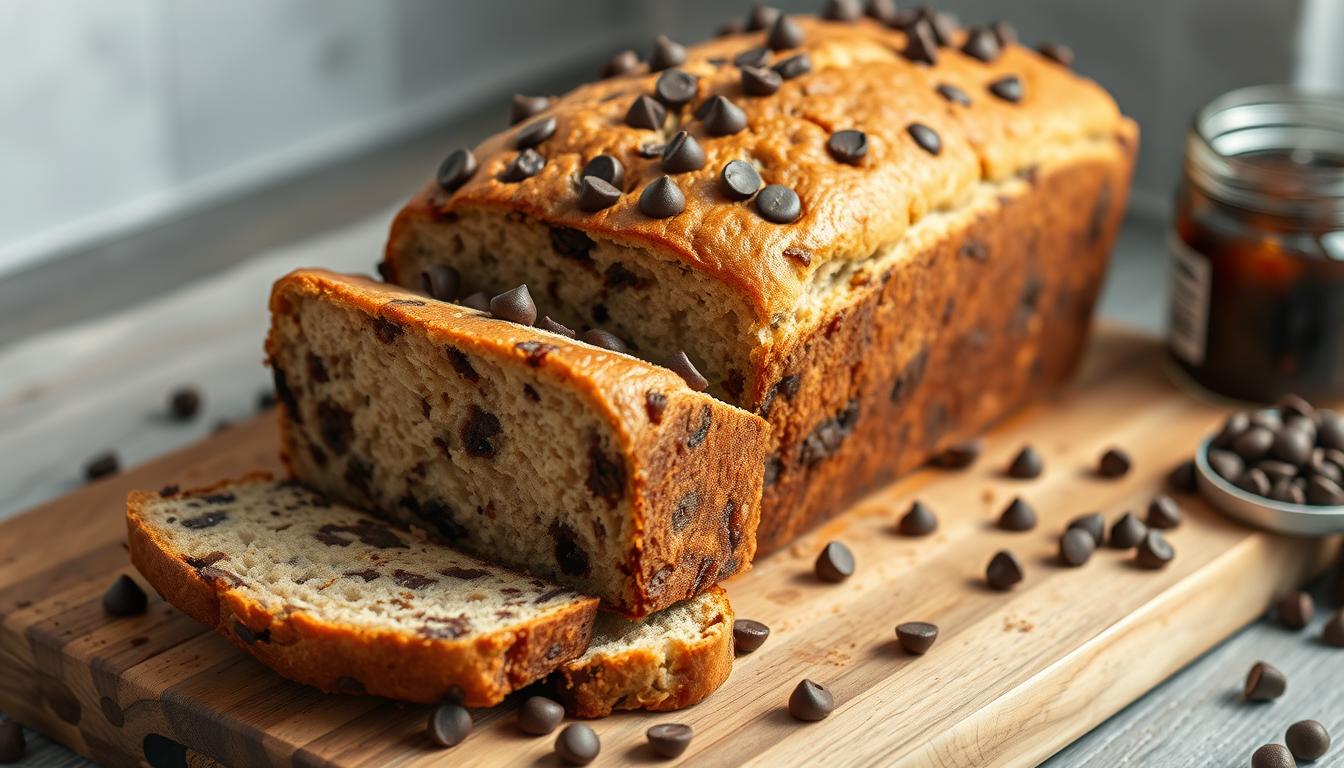
The smell of freshly baked chocolate chip bread is magical. Imagine biting into a soft, moist slice filled with chocolate chips. It’s a homemade treat that makes any moment special.
This chocolate chip bread recipe is more than a simple treat. It’s a comfort food that works for breakfast, snacks, or dessert. Whether you want something sweet with your coffee or a dessert to impress, this recipe is perfect.
Key Takeaways
- Perfect for multiple occasions from breakfast to dessert
- Easy to prepare with basic pantry ingredients
- Versatile recipe that can be customized
- Requires minimal baking experience
- Stores well for several days
What is Chocolate Chip Quick Bread
Explore the world of quick bread, a culinary wonder that’s easy and tasty. Quick bread doesn’t need yeast to rise, making it quick to make.
Understanding Quick Bread Basics
Unlike yeast breads that take a long time to rise, quick bread uses baking powder or baking soda. This makes the chocolate chip quick bread a quick and tasty treat.
- No yeast required
- Quick preparation method
- Chemical leavening agents create rise
- Minimal mixing needed
Why This Recipe Works
This chocolate chip quick bread’s magic comes from its balanced ingredients. It has flour, eggs, and just the right amount of chocolate chips. This mix creates a moist, tender crumb that’s irresistible.
« Baking is love made edible » – Unknown
Perfect for Any Occasion
Your chocolate chip quick bread is versatile. Enjoy it with coffee for breakfast, as an afternoon snack, or as a dessert. It makes about 12 servings, perfect for sharing.

The recipe’s nutritional profile is great, with each serving having about 152 calories. It’s a balanced mix of nutrients. Whether you’re new to baking or experienced, this recipe always delivers delicious results.
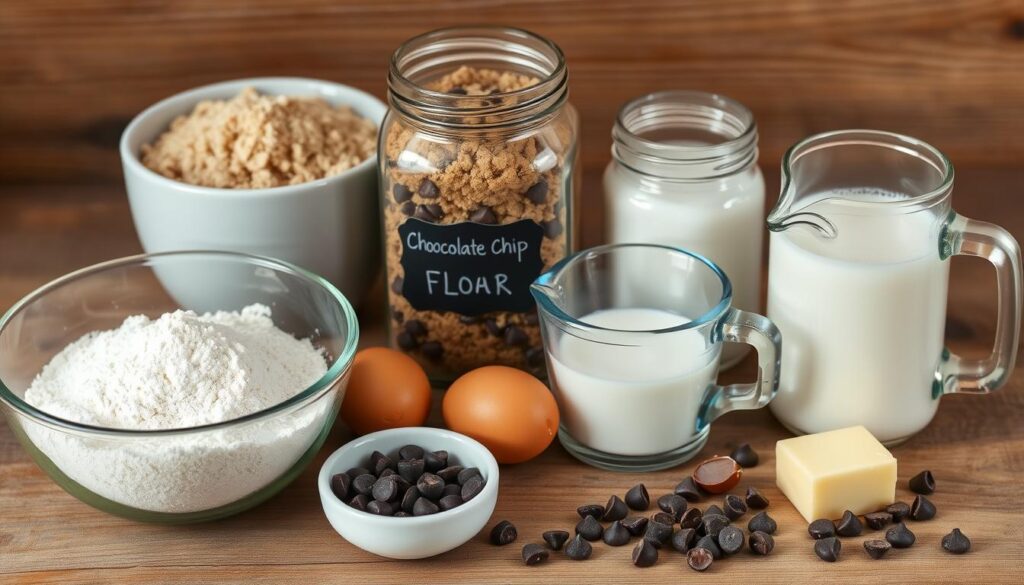
Essential Ingredients for Your Chocolate Chip Bread
Making the perfect chocolate chip bread starts with choosing top-notch baking ingredients. You’ll need a mix of pantry staples to turn simple ingredients into a tasty treat.

- Wet Ingredients:
- Unsalted butter (⅓ cup, melted)
- Large eggs (2)
- Vanilla extract
- Greek yogurt
- Milk (1 cup)
- Dry Ingredients:
- All-purpose flour (2 cups)
- Granulated sugar (1 cup)
- Baking powder (2 teaspoons)
- Salt (¼ teaspoon)
- Chocolate Components:
- Mini chocolate chips (1 cup)
- Additional chocolate chips for topping (2 tablespoons)
« The secret to extraordinary chocolate chip bread lies in the quality of your ingredients. »
Choose fresh, high-quality ingredients for your baking. These ingredients will make a moist, flavorful bread with chocolate chips evenly spread.
Your ingredients work together for a great texture and taste. Butter adds moisture, eggs hold everything together, and chocolate chips add sweetness in every bite.
Kitchen Tools and Equipment Needed
To bake chocolate chip bread, you need the right tools and equipment. Whether you’re new or experienced, the right tools make baking better and more fun.
Let’s look at the essential kitchen tools for baking the perfect chocolate chip bread.
Baking Pan Requirements
Choosing the right baking pan is key for your chocolate chip bread. Here are some important tips:
- 9×5 inch loaf pan (recommended by 85% of bakers)
- Non-stick or greased pan
- Option to line with parchment paper for easy removal
The USA Pan Nonstick Standard Bread Loaf Pan, priced around $21, is a great choice for consistent baking.
Mixing Tools
Good mixing is crucial for perfect chocolate chip bread. You’ll need:
- Large mixing bowls (preferably with non-slip base)
- Silicone spatulas (60% of bakers prefer these for heat resistance)
- Danish dough whisk (approximately $9-$17)
Measuring Equipment
Accuracy is key in baking. Get quality measuring tools:
| Measuring Tool | Price Range | Importance |
|---|---|---|
| Liquid Measuring Cups | $10-$20 | 95% of bakers own a set |
| Dry Measuring Cups | $15-$25 | Essential for accurate ingredient portions |
| Digital Kitchen Scale | $53-$56 | Provides most accurate measurements |
« Accurate measurements reduce baking errors by 50% » – Professional Baking Experts
Investing in these baking tools will help you make great chocolate chip bread. The right tools can turn a simple recipe into a special treat.
Step-by-Step Mixing Instructions
Making chocolate chip bread needs careful mixing. This ensures it turns out perfect and delicious. Knowing each step of mixing is key to success.
Start by preparing your ingredients at the right temperature. Make sure butter and eggs are around 68-70°F. This helps them mix better.
- Creaming Butter and Sugar
- Use 1/2 cup unsalted butter
- Mix with 1.5 cups granulated sugar
- Cream until light and fluffy (about 3-4 minutes)
- Adding Wet Ingredients
- Add 2 large eggs, one at a time
- Mix in 2 teaspoons vanilla extract
- Incorporate 1/2 cup milk
- Combining Dry Ingredients
- Sift 3 cups all-purpose flour
- Add 2 teaspoons baking soda
- Mix in 1/4 teaspoon kosher salt
- Folding Chocolate Chips
- Gently fold 1.5 cups mini chocolate chips
- Avoid overmixing to maintain bread texture
« The secret to perfect chocolate chip bread is gentle mixing and precise ingredient incorporation. » – Baking Expert
Experts say mix for 8-10 minutes to avoid overworking. Your goal is a smooth mix. This will make your chocolate chip bread tender and delicious.
Tips for Perfect Chocolate Chip Distribution
Getting the chocolate chips just right can make your bread amazing. It’s all about the technique and choosing the right chocolate chips. This way, every slice will be full of chocolatey goodness.
Your method of adding chocolate chips is crucial. You want to make sure they’re spread out evenly. This way, every bite will have a bit of chocolate.
Choosing the Right Chocolate
Not all chocolate chips are the same. For the best taste in your bread, consider these:
- Dark chocolate chips offer rich, intense flavor
- Semi-sweet chips provide balanced sweetness
- Mini chocolate chips distribute more evenly
« Dark chocolate creates delightful pockets of goodness throughout the loaf » – Baking Experts
Preventing Chocolate Sink
To avoid chocolate chips sinking, try these tips:
- Toss chips in a light coating of flour before adding to batter
- Fold chips gently into the mixture
- Add half the chips at the bottom, half on top of the batter
- Use room temperature batter for better chip suspension
Pro tip: Adding a sprinkle of flaky sea salt on top can make your chocolate chip bread even better. It adds a gourmet touch to your homemade treat.
Baking Time and Temperature Guidelines
Getting the baking temperature and time right is key to making perfect chocolate chip bread. Your oven’s performance greatly affects the outcome. So, timing is everything.
- Standard baking temperature: 350°F
- Typical baking time: 55-65 minutes
- Recommended pan size: 9×5 inch loaf pan
Several things can change your baking time. These include oven variations, pan material, altitude, and humidity. They all play a role in how long your bread bakes.
| Oven Type | Temperature | Baking Time |
|---|---|---|
| Conventional Oven | 350°F | 55-60 minutes |
| Convection Oven | 325°F | 50-55 minutes |
Pro tip: Always use an oven thermometer to confirm your actual baking temperature for consistent results.
« Precision in baking is an art and a science combined. » – Professional Baker’s Wisdom
Adjusting baking time might be needed based on your ingredients and equipment. Watch your chocolate chip bread closely in the last 10 minutes. This helps avoid over-browning.
How to Test for Doneness
Learning how to check if bread is done is key to baking the best chocolate chip bread. Knowing the right methods ensures a tasty, perfectly baked loaf every time.
Visual Cues for Baking Doneness
Your eyes can be a great help when checking if bread is done. Look for these important signs:
- Golden-brown edges that look crisp and slightly pulled away from the pan
- A center that looks set and no longer appears wet or overly glossy
- A surface that springs back when gently pressed
Toothpick Test Method
The toothpick method is a trusted way to check if bread is done. Insert a clean toothpick into the bread’s center. When you pull it out, it should be:
- Clean with just a few moist crumbs (ideal for most quick breads)
- Completely dry (for a fully baked, firmer texture)
« A perfectly baked bread reveals itself through subtle signs of doneness. » – Baking Experts
Remember, the internal temperature also helps check if bread is done. For most quick breads, an internal temperature of 190-200°F means it’s perfect. Use an instant-read thermometer for accurate results.
Pro tip: Always check doneness a few minutes before the recommended baking time to prevent overbaking.
Proper Cooling and Serving Suggestions
Cooling quick bread is key to a great chocolate chip bread experience. After baking, let the bread rest in the pan for 10-15 minutes. This step helps the bread set and makes it easier to serve.
After it cools slightly in the pan, move it to a wire rack. This prevents soggy bottoms and ensures even cooling. Your bread will firm up, making it easier to slice.
- Cool in pan: 10-15 minutes
- Transfer to wire rack for complete cooling
- Wait until almost room temperature before slicing
Serving suggestions can make your chocolate chip bread even more enjoyable. You can enjoy it:
- Warm with melted butter
- At room temperature with a schmear of peanut butter
- Toasted and topped with cream cheese
« The secret to perfect quick bread is patience during the cooling process. » – Baking Experts
When serving your bread, temperature is important. Warm bread has gooey chocolate chips, while room temperature is firmer. Store your bread in an airtight container for up to 3 days at room temperature to keep it fresh.
| Serving Temperature | Texture Experience |
|---|---|
| Warm | Soft, gooey chocolate chips |
| Room Temperature | Firm, distinct chocolate chip distribution |
Storage and Freezing Methods
Proper storage of your homemade chocolate chip bread keeps it fresh for days or months. You have several options to keep it tasting great.
For short-term storage, keep your bread at room temperature. Wrap it tightly in plastic wrap or use an airtight container. This way, it stays fresh for up to 3 days.
Freezing your chocolate chip bread is another great option. Here’s how to do it:
- Wrap individual slices in plastic wrap
- Place wrapped slices in a freezer-safe bag
- Remove as much air as possible from the bag
- Label with the date of freezing
Freezing your quick bread keeps it fresh for up to 3 months. To thaw, follow these steps:
- Remove the desired number of slices from the freezer
- Let them thaw at room temperature for 30-60 minutes
- For a quick option, toast the frozen slice for an extra minute
| Storage Method | Duration | Best Practices |
|---|---|---|
| Room Temperature | Up to 3 days | Airtight container or wrapped in plastic |
| Refrigerator | Up to 5 days | Wrapped tightly, sealed container |
| Freezer | Up to 3 months | Individually wrapped, freezer bag |
Pro tip: Always let your bread cool completely before storing to prevent moisture buildup and potential sogginess.
« Proper storage is the secret to keeping your homemade bread as delicious as the day you baked it! » – Baking Experts
Recipe Variations and Substitutions
Exploring different chocolate chip bread variations lets you tailor this classic recipe to your liking. You can make baking substitutions or try new flavors. These creative options turn your basic chocolate chip bread into a unique dish.
Dairy Alternatives
Dairy-free bakers have many options for this recipe:
- Replace butter with coconut oil
- Use almond milk instead of dairy milk
- Swap yogurt with dairy-free alternatives like:
- Coconut yogurt
- Almond milk yogurt
- Soy-based yogurt
Sugar Adjustments
Adjust the sweetness of your chocolate chip bread with these baking substitutions:
- Reduce sugar by 25% without compromising texture
- Replace white sugar with alternatives:
- Honey
- Maple syrup
- Coconut sugar
- Use natural sweeteners like stevia for lower-calorie options
Add-in Options
Elevate your chocolate chip bread with creative mix-ins:
- Nuts: Walnuts, pecans, or almonds
- Dried fruits: Cranberries, raisins, or apricots
- Spices: Cinnamon, nutmeg, or cardamom
- Extra chocolate varieties:
- White chocolate chips
- Dark chocolate chunks
- Milk chocolate chips
« Baking is about personal expression – don’t be afraid to experiment! » – Professional Baker
Remember, chocolate chip bread variations are endless. Each substitution adds a unique twist to your classic recipe. This makes it truly your own.
Common Baking Mistakes to Avoid
Baking mistakes can ruin your chocolate chip bread. Knowing common errors helps you bake better and get great results every time.
Fixing quick bread mistakes needs careful attention and strategies. Here are the main baking mistakes to avoid:
- Overfilling the Pan: Never fill your loaf pan more than 2/3 full. This allows space for the bread to rise without overflowing.
- Incorrect Ingredient Measurements: Precise measuring is crucial. Use liquid measuring cups for wet ingredients and spoon dry ingredients into measuring cups.
- Overmixing the Batter: Mix ingredients just until combined. Overmixing develops gluten, resulting in tough, dense bread.
Temperature control is key to avoiding baking mistakes. An oven thermometer ensures accurate baking temperatures. Most ovens can vary by up to 25 degrees from the displayed setting.
« Baking is a science, and precision is key to success. » – Professional Baker’s Wisdom
Ingredient freshness is crucial in quick bread baking. Check the expiration dates on leavening agents like baking powder and baking soda. These can lose potency over time, affecting your bread’s rise and texture.
- Check baking powder and baking soda for freshness
- Use room temperature ingredients
- Avoid ingredient substitutions without understanding their roles
By avoiding these common baking mistakes, you’ll be well on your way to creating perfect chocolate chip quick bread that delights everyone who tastes it.
Conclusion
Your chocolate chip bread recipe journey is now complete! This treat turns simple ingredients into a delicious masterpiece. It can brighten any day with just a few steps and the right ingredients.
Choosing the right chocolate chips and mastering baking techniques are key. This bread is great for breakfast, snacks, or dessert. Each slice offers rich flavor and a satisfying texture that will wow everyone.
We encourage you to share your baking story with MeritRecipes. Did you try something new with the recipe? Did the chocolate chips mix well? Your feedback helps others learn and grow. Baking is an adventure. Enjoy the journey, the tasty results, and keep trying new things!

